




Canning 101: The One Rule That Decides Whether You Need a Water Bath Canner or a Pressure Canner
hopegirl September 9, 2026 0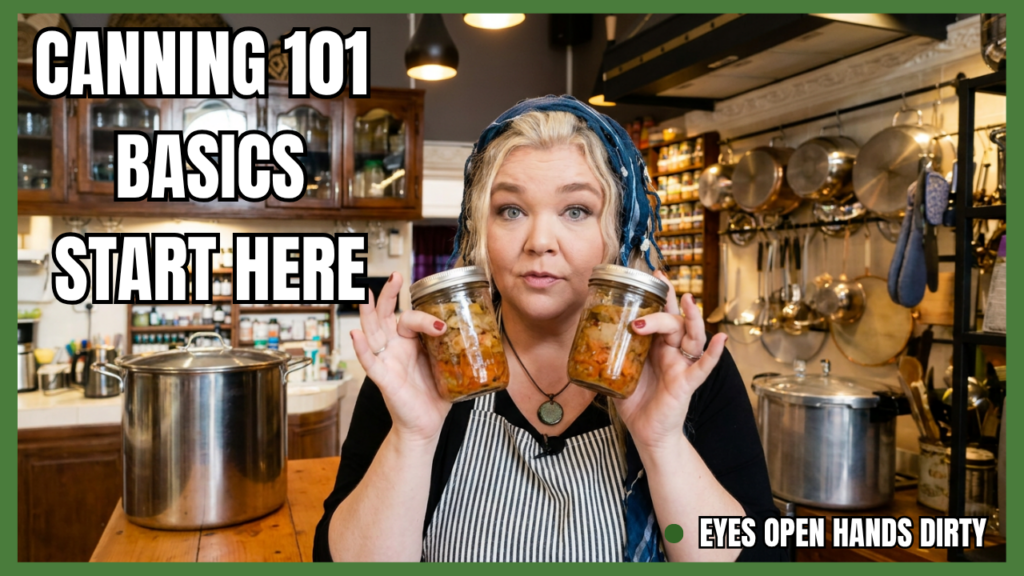
There are two kinds of canning, and using the wrong one for the wrong food is how people end up in the hospital. So today I’m breaking it down — no confusion, no guesswork.
Right now, feeding a family feels harder than it used to. A family of three grabbing a quick meal at McDonald’s can run you close to $40 — and the quality isn’t even there. That’s not sustainable, and it’s exactly why I’m starting this series. My goal is to give you the real knowledge and the real skills to feed yourself and your family for a fraction of that cost, using food you prepared with your own hands, so you know exactly what went into it. This isn’t about fear — it’s about self-sufficiency. The more of this knowledge you have, the less power any grocery store, any supply chain, or any bad month has over whether your family eats well.
This is the first video in a full canning series, and everything else we cover builds on today’s foundation. If you already can food, or you’ve been wanting to start, this is the one to watch first.
The One Rule Everything Else Is Built On
It’s not about your equipment, your family tradition, or what you feel like using today. It’s about the acidity of the food.
High acid (pH 4.6 or below) can go in a water bath canner — think fruit, jams, jellies, and anything pickled with enough vinegar. Sugar and vinegar create a high-acid environment that keeps bacteria from taking hold.
Low acid (above pH 4.6) must go in a pressure canner — plain vegetables, meat, poultry, seafood, soup, and dried beans. There’s no substitute.
Here’s why it matters so much: boiling water only reaches 212°F at sea level. That’s enough to destroy the organisms that spoil high-acid food, but it’s not hot enough to destroy the spores of Clostridium botulinum — the bacteria behind botulism. Only a pressure canner, sealed and holding 240°F, can do that.
Canning is the one homesteading topic where a mistake can genuinely hurt someone. Improperly canned low-acid food is the classic setup for botulism, and botulism toxin has no taste, smell, or visible warning sign. Every processing time I use comes from the USDA Complete Guide to Home Canning and the National Center for Home Food Preservation — I don’t guess, and neither should you.
Two Non-Negotiables, Every Time
Never alter a tested process. Don’t add thickeners, dairy, or extra ingredients to something that’s been tested without them.
Always adjust for your altitude. Not sure what altitude you’re at? Google your city or zip code plus “elevation” and you’ll have your answer in seconds. Straight from USDA/NCHFP guidance: Weighted-gauge canners: 10 lbs of pressure from 0–1,000 ft, 15 lbs above 1,000 ft. Dial-gauge canners (more precise): 11 lbs from 0–2,000 ft, 12 lbs from 2,001–4,000 ft, 13 lbs from 4,001–6,000 ft, 14 lbs from 6,001–8,000 ft, 15 lbs from 8,001–10,000 ft.
Find your altitude, match it to your gauge type, and use that exact pressure. You’ll get used to it — don’t let it scare you off.
What You Actually Need to Get Started
Water bath canning is the cheap on-ramp: a deep stock pot with a rack in the bottom, tall enough that jars sit under at least an inch of water with room to boil. You can start for well under $100.
Pressure canning requires an actual pressure canner — not a multi-cooker, not an Instant Pot. A true pressure canner holds at least four quart jars, has a dial or weighted gauge, and is built to maintain steady pressure for long processing times. Budget $100–$300 for a reliable one, and taken care of, it will last decades.
Both methods share the same small tools:
Mason jars, in the size you need
New lids every single time (rings are reusable, flat lids are not)
A jar lifter, a bubble remover, and a canning funnel — none of it optional if you want consistent seals
I use a Presto pressure canner, the classic stovetop version — nothing fancy, but reliable, and it’s what most home canners I know actually use. A few things that keep mine running safely year after year:
I replace the rubber sealing ring every 2–3 years (Presto’s own recommendation), sooner if it gets hard, cracked, or stops holding pressure.
I coat it lightly with olive oil each use, which keeps the rubber pliable.
I check every screw and handle is tight before I start, and that the base still sits flat on the counter.
A mistake I made, so you don’t have to: I once ran my flame too high, which pushed my pressure higher than it needed to be. My canner didn’t explode — nothing dramatic — but the bottom bowed out slightly so it no longer sat flat. That’s a well-documented sign of overheating, and once it happens, the canner should be replaced, because a warped bottom doesn’t heat evenly anymore. Now I never let mine sit at high pressure longer than it needs to, and I check the base is flat before every session.
If you ever hit a snag with your own canner, Google it seriously — there are entire communities of home canners who’ve hit the exact same issue and will walk you through it. You’re never troubleshooting alone.
Other things worth grabbing:
A canning accessories kit (jar lifter, funnel, jar wrench, tongs) — don’t improvise this with regular kitchen tools
Actual canning jars, not saved mayonnaise or pickle jars — those aren’t tempered the same way and crack far more easily under heat and pressure. I use Ball jars in the U.S.; here in Morocco I use Quattro Stracci, which is the same quality equivalent.
A splash of white vinegar in your canning water keeps mineral deposits from clouding your jars (purely cosmetic, but it makes a difference)
A simple kitchen timer, so you don’t lose track of time moving between steps
Roughly what it costs to get set up: a larger Presto pressure canner runs about $100–$110, a canning accessories kit about $20, a case of quart jars about $17, a case of pints about $15, and a spare sealing ring about $20 — all in, roughly $175–$190 to have everything you need. That equipment isn’t a one-time purchase; it’s decades of groceries at a fraction of store price.
Raw Pack vs. Hot Pack
Every canning recipe uses one of two packing styles:
Raw pack — food goes into the jar uncooked, liquid added around it.
Hot pack — food is cooked or heated first, then packed hot with hot liquid into a hot jar. Hot pack is usually the safer bet for meat and dense vegetables, since it shrinks the food first so more fits and there’s less risk of floating.
One more mistake to learn from instead of repeat: putting a cold jar straight into hot liquid — even a real canning jar — can crack it. It’s called thermal shock, and it happens because the glass on the inside heats faster than the outside, and the jar can’t handle the uneven stress. Keep your jars warm before you fill them.
Headspace, Venting, and Patience
Headspace — the gap between the food and the rim — matters more than people think. Too little and food can boil out during processing and break the seal; too much and the jar may not seal at all. Most vegetables and meats need 1 inch; most fruits and pickles need ½ inch. Always follow the specific recipe.
For pressure canning, venting is the step people love to skip and shouldn’t: once the canner is on the heat with the weight off, let steam flow steadily out of the vent for a full 10 minutes before adding the weight or closing the petcock. Skip it, and the canner never actually reaches full temperature, even if the gauge says otherwise.
Canning isn’t a background, multitask kind of activity. Once the canner is on, stay present for the whole thing — usually 60–90 minutes. Listen to the sound of the steam or the weight; you’ll learn what “steady” sounds like, and you’ll notice if it changes. You don’t have to stand over the stove — grab a book, sit nearby, stay in earshot. I’ve come to think of it as a little bit of sacred time — one of the few things that forces me to just sit and pay attention to one thing. Tell your family ahead of time: “I’m canning, don’t bother me.” That boundary is allowed.
Once processing is done, let the canner sit undisturbed to cool fully — 12 to 24 hours. While it cools, you’ll hear the lids pop one by one as they seal. Honestly, that sound is one of my favorite parts of canning — it’s the sound of the whole thing just working.
After they’re cooled, rinse the jars in warm soapy water, dry them, label with contents and date, and store in a single layer — never stacked, since the weight can compromise a seal below.
How to Know Your Seal Held
Press the center of the lid. It should be concave and shouldn’t flex or pop when you press it. If it flexes, the seal didn’t take — that jar goes in the fridge to use right away, or gets reprocessed.
One thing to put your mind at ease about: sometimes you’ll open a perfectly sealed, perfectly safe jar and see a little black or dark discoloration on the underside of the lid. That is not botulism — it’s a well-documented, harmless reaction between natural compounds in the food and the lid, most common with tomatoes, beans, and greens. As long as your seal was intact and there’s no unusual smell or foaming, it’s cosmetic, not a safety issue.
For extra peace of mind, boil your home-canned low-acid foods for a full 10 minutes before eating — that’s an actual USDA recommendation, not just a personal habit. And here’s my own go-to test: when you open the jar, listen for the vacuum sound — that pop or whoosh of air rushing in. That means the seal was tight and never broke.
Why We Do Any of This
“The wise store up choice food, while the fool devours all he has.” — Proverbs 21:20
Canning is that verse in physical form. A little extra care today so there’s something set aside for the months ahead. It’s also a picture of following instructions we didn’t write ourselves — the USDA didn’t invent these processing times to make life harder. They tested them so we wouldn’t have to guess. There’s real wisdom in trusting a tested process instead of assuming we know better in the kitchen — and honestly, in a lot of areas of life.
What’s Next in the Series
Next up: water bath canning — pickles and homemade tomato sauce. After that, pressure canning vegetables (green beans, carrots, homemade broth), then canning meat (chicken and beef, raw pack vs. hot pack), canning soup the safe way with no dairy and no thickeners, and we’ll close out the canning series with dried beans and chickpeas. Once we’re through canning, we’re moving into dehydrating and more food storage techniques — all designed to help your family actually survive and thrive in this economy.
Have you ever had a canning close call — a jar that didn’t seal, a batch you weren’t sure about? Drop it in the comments on the video or reply to this post. I read every one.
Eyes open, hands dirty.
Two free things before you go:
Free EMF Awareness Guide
Tivon and I spent years researching this for our own home — we put what we learned into a free 60-page guide. It walks you room by room through your own space: grounding and shielding options, things to consider around smart meters or a nearby cell tower. We’re not doctors and this isn’t medical advice — just what we researched and found useful for our own household, and we wanted to hand it to you the same way. Completely free:
https://www.ftwproject.com/free-ftw-complete-guide-to-practical-emf-protection/
Free Harmonic Phone Shield (Just Pay Shipping)
This is our small business — my husband and I hand-make orgonite ourselves, using the best ingredients we can source, because it’s something we built for our own home first. We’re giving away a free Harmonic Phone Shield, you just cover shipping, plus a few other exclusive deals we only offer here:
https://www.ftwproject.com/free-harmonic-shield-exclusive-deal/